bare white

bare white
Showing posts with label DIY. Show all posts

10.27.2011

Thursdays : thought you might wanna know about this....

So I thought I would start a "thursdays : thought you might wanna know about this..." post
I love checking out fellow Mamma blogs for good ideas on books, toys, gifts, crafts, h.s. curriculum, family outings etc.etc. And I thought it would be a good idea to share some of those and give you some of our own.

So here we go :

I have been trying to think of what I wanted to do first (I have so many cool things I want to share that I have come across lately).

In the spirit of fall I thought I'd start with this : (these aren't ours...just wanted you to get the idea) We just did a couple with face, the rest were plain pumpkins so I can use them through Thanksgiving. I added a little brown tissue paper too and then went over it with the orange to give is a "pumpkin" look.

We actually got this idea from one of the girls in Arae's CC class - during their presentations they had to present a "How-to" in front of everyone and this was hers. We loved it so much we did it the next day.


Decoupague pumpkin Lanterns

These were so fun to make and look adorable in our window. We did majority of Pumpkins because I am not really into halloween, but Arae and Kobo each wanted to do a mummy too, so I said okay :)
We put the non-flame tea lights in them and they are all (we did 7) in our window in our kitchen. They really are cute! The kids LOVE looking at them at night.
In fact, Arae has a few girls over right now and they are doing a couple for them to take home.


One more thing I wanted to share :


I found these cds and videos a little bit ago and the kids love them. We are really into audio cds right instead of tv....well trying at least.  I really like about audio cds is that they can listen to them while playing or coloring or whatever else.  And what I love about THESE is there is always a point to the story and they talk a lot about character traits. I highly recommend them!

So there you go - a couple little things we love over here at the Whitehouse!

7.21.2011

Birthday Project for 35

So here is the big reveal to my birthday boy! This is something I have been LONGING to do for years. Since we have been married...8 years...we have lived in 6 different homes - some for a short time, some for even a shorter time.  So we have never had a room for US ...  that room we WANTED to go into and sleep or read or just be. 

SO, for His birthday I knew for awhile what I wanted to do -  the plan of attack started. First on Pinterest for inspiration, then a budget (that doubled along the way:) ) and then the shopping and making and redoing and finishing AND seriously sweating!
I knew I wanted to reuse/paint as much as possible. AND I wanted to shop my house first. Then I made my list and went for it - Target, Hobby Lobby, TJ Maxx and Pier One were my main stops along the way.  I was also determined to NOT pay full price for anything and I think I managed that except for one thing...Praise the LORD!

My source of inspiration  came from the most amazing quilt my grandma made for us a couple of years ago. I knew the color schemes were coming from that, but I wanted to get it off of my bed for awhile since we get so much natural light, I was fearful it was starting to fade. I want to cherish is as long as I live! It truly is amazing!

I painted our headboard wall light gray and the rest of the room stayed the neutral antiquey-white

I did NOT want to spend $50 + on a bedskirt so I started researching no-sew ones online and this is what I came up with. I wanted it neutral but maybe add a little texture so I went with linen. In less than an hour it was done. It took 4 yards of fabric cut in half (long ways) and LOTS of safety pins. I LOVE the outcome. Honestly, it is better than what I imagined!

My mom brought me 4 of these shutters painted blue. I LOVE them, but we don't have blue anywhere in our room so I sanded and painted two of them -  2 coats of gray, then spray painted  2 coats of antique-white (yes my arm/hand still hurts from this) - then I sanded the edges and the final step was staining them.

THIS was fun! See my helpers?? I found an amazing sign I wanted for our room but WAY out of our budget, so I did my own version with wooden frame I put together, a (used) painter's clothe and Burlap. Then I used stencils and black paint and tried my hardest to get is all spaced right...it's not perfect, but I LOVE it and so does 35!

Painted sticks above the window - kind of on a whim, but added to the masculinity of the room

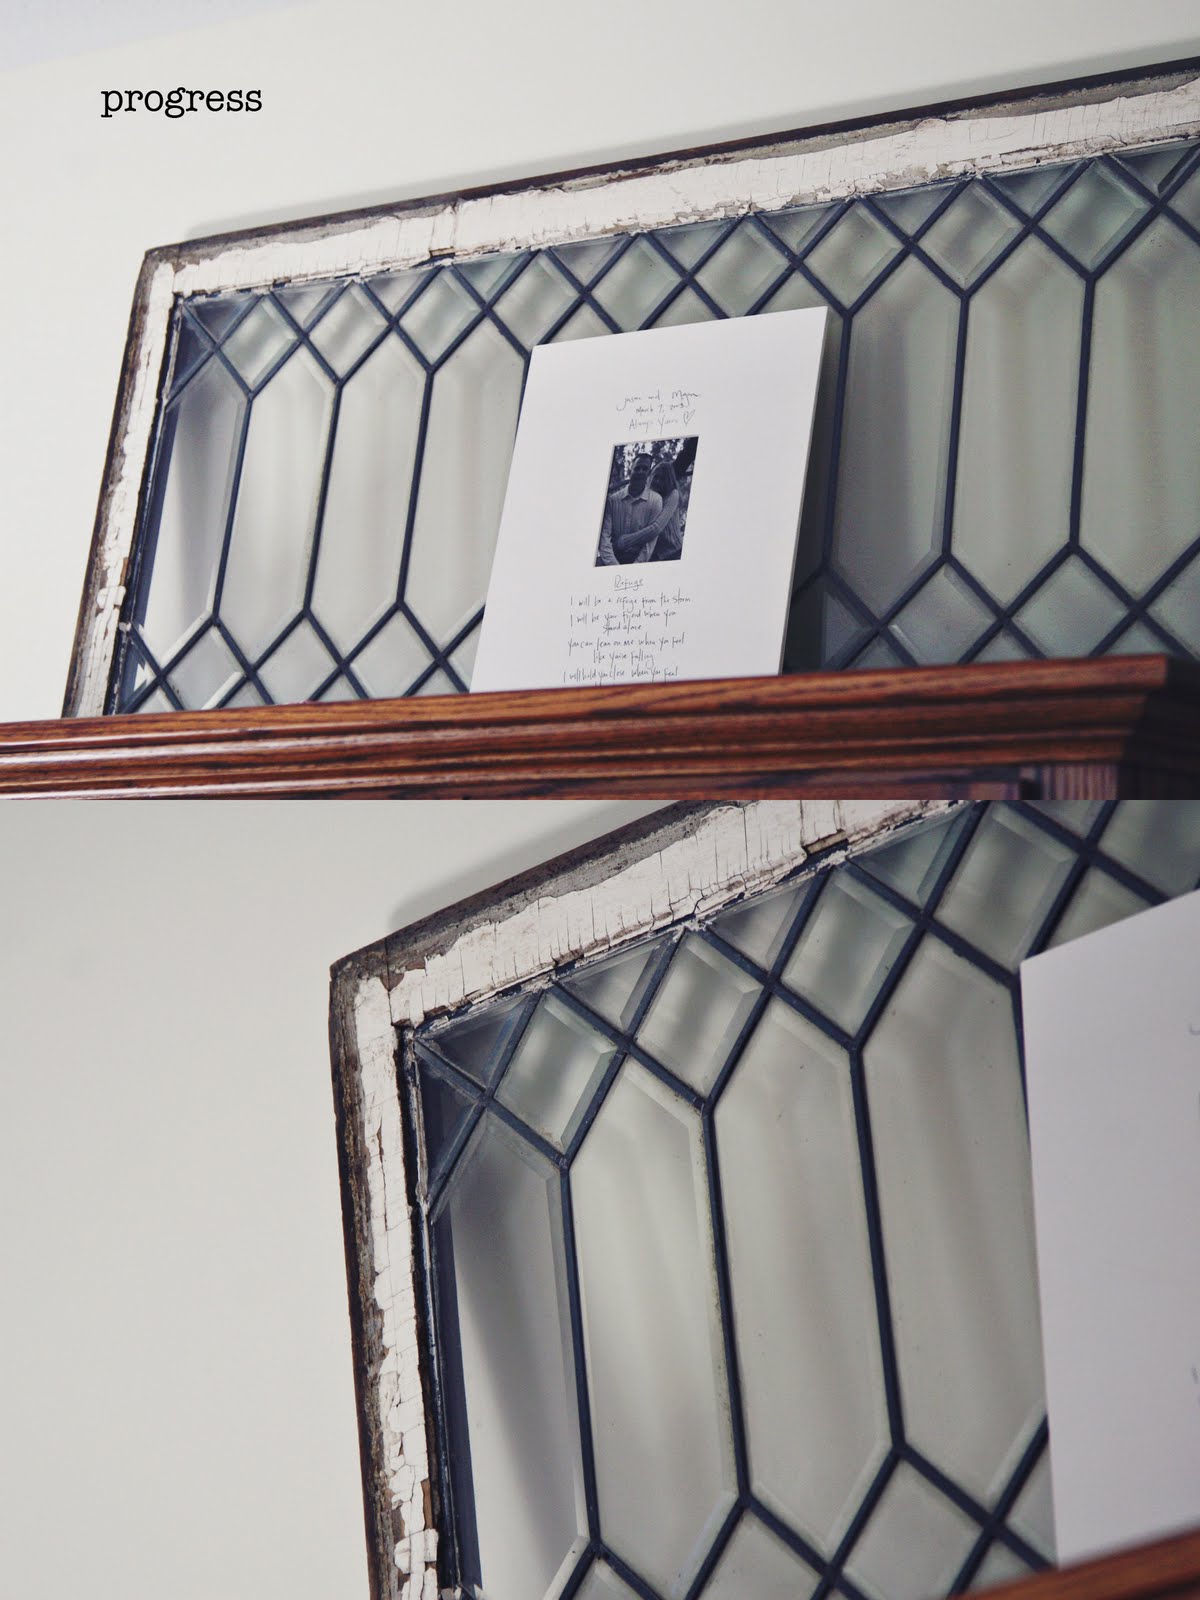
OLD VINTAGE window from The Antique Shoppe I sooo HEART!

 Art work complete...yes you have my whole heart Jase!

Vintage fan

vintage mirror hanging on the shutter

 Love this mirror - clearanced at TJ MAXX - still have a little repair to make on it, but I will need his help to do it

SOLID wood bench - another masculine feature...this thing was HEAVY! 
That is the amazing quilt under the bench

To-be-filled-frames from Organic Bloom - I can't wait to fill them!

Vintage-looking hook for our throw at night so it isn't just on the floor for kids to do something to...trust me they would find a way!

AND the final outcome....for now.  I have a few more things I want to do, but they are a little more involved....board and batten, a little more paint and we'll see what else.